You should still be working in NetInfo Manager.
Drag the slider in the top half of the window until you can again see / by itself in the leftmost pane. If you do not have a config entry in the next pane over, you will have to create one. Use the New button and change the new NetInfo property directory name to config. Save via cmd-S, and then create a new subdirectory under config and name it nfsd. Select nfsd and add a new property via the New Property menu entry in the Directory menu in the menu bar. Name this new property “arguments” and give it the values I show below:
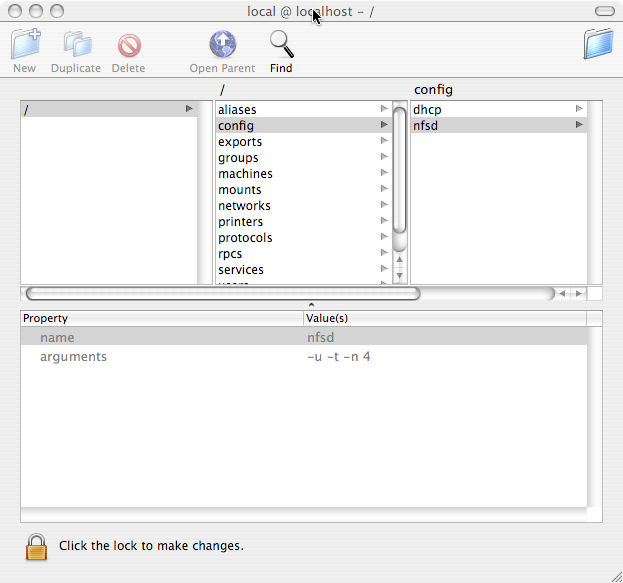
These values cause nfsd to spawn four workers at startup and to allow sharing using both UDP and TCP. You can change these parameters if you feel the need, but for most lightweight clients, four workers is plenty.
Save your work via cmd-S. Now you are ready to start NFS. Type the following command in a Terminal window, exactly as shown:
Check your work by typing the following command:
You should see the following output, indicating that /Users is shared to the private networks we defined:
/Users 192.168.168.0 172.17.0.0 10.0.0.0
Proceed to the next step.
$Date: 2007/01/11 08:47:54 $